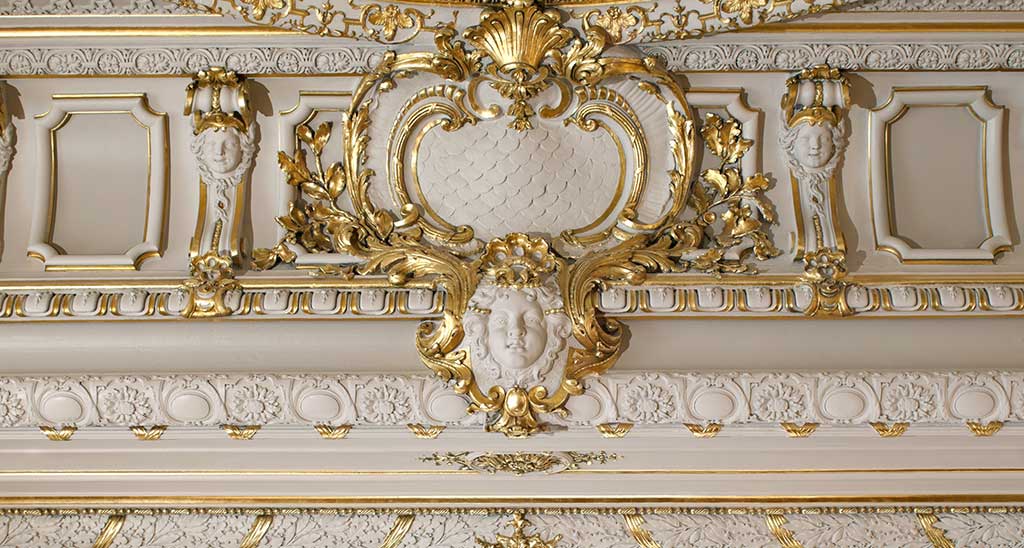
Ornamental plaster work has the ability to truly transform a space. Master plasterers can create beautiful designs from simple molds and rudimentary techniques.
Whether restoring ornamental plaster that has been damaged or lost or developing new elements from original plans, pictures, or drawings, understand the material, processes, and techniques is a key element in quality craftsmanship.
While the installation of new plaster ornamentation and the restoration of existing plaster work rely on the sample fundamental principles, the latter requires significant dedication to craft and a deep body of experience to ensure accuracy.
PRECONSTRUCTION & DESIGN DEVELOPMENT
1. Plaster Assessment:
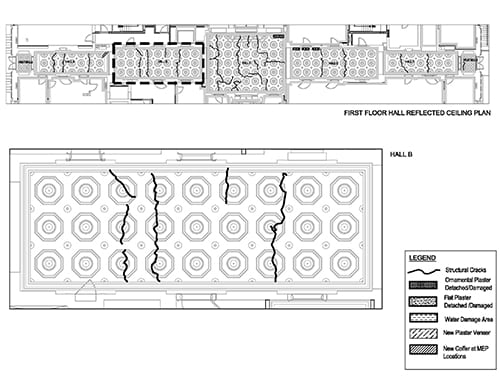
Assessing the condition of the plaster and the extent of the remaining design is a critical first step. A critical aspect of plaster restoration is understanding the original method and materials used for the initial installation this should be evaluated in the assessment process.
The review should not only document the condition of the remaining plaster, but also check for signs of damage to the structural support, such as the lath or framing—this will help you decide whether to restore or replace.
Determine how much of the original molding still remains. If all the original elements still remain intact somewhere within the space, then molds of the elements can be easily created.
- During this phase a plaster conditions report will usually be prepared, detailing the damage within the space, potential causes, and a repair/replace plan.
- A historic paint investigation may also be conducted to determine what the space looked like originally—colors, paint composition, lost artwork, decoration, or stencil work etc.

2. Review the Space and Develop a Scope:
Does the space need modernization? Do electrical, mechanical, or HVAC components need to be integrated or updated? Review with an expert the additional projects that need to be done prior to starting work. Vents, wires, and fixtures can all be added in seamlessly with good planning.
A thorough review of the space goes beyond identifying which areas are most damaged. Well-executed restorations should not only produce a high-quality, historically accurate finish, but also satisfy modern needs and conveniences in a fashion that minimizes obvious modernizations.
3. Historic Research:
If the restoration process is of a space with significant damage or has design elements that are completely missing, reviewing contemporaneous design material and remaining original plans will help inform the final product.
Reviewing original material by the architect and other surviving examples of their work is a good way of determining how a space might have been embellished. Similarly, it might prove beneficial to review other spaces that have been recreated/restored on a scale similar to your project.
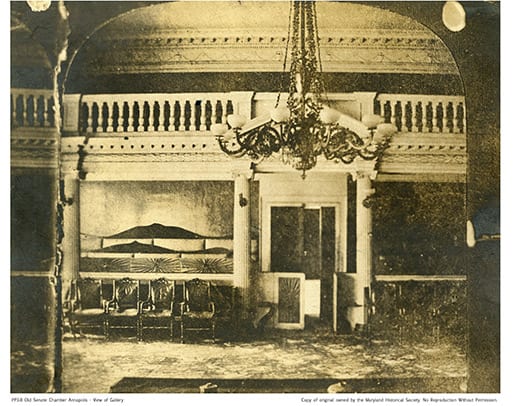

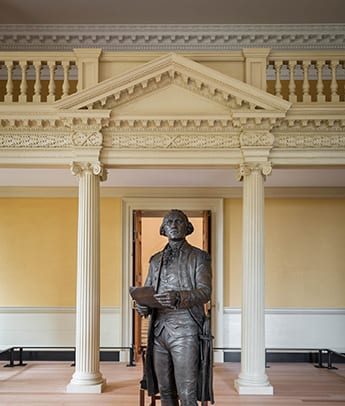

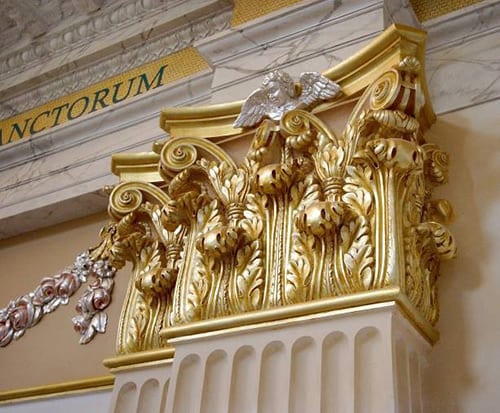
Copyright Maryland Historical Society, Maryland State House Old Senate Chamber
4. Bid Phase:
Receive multiple bids from qualified professionals with experience completing similar restoration campaigns. It is important to obtain written professional references from past clients and active subcontractors, as well as examples of similar projects in scope and size.
CONSTRUCTION & RESTORATION
1. Mold Production:
Reproducing original decorative plaster can take several forms. Creating unique molds for a project is one the easiest and most common techniques restoration professionals use. Depending on the design, location, and scale different methods will be employed to complete the new plaster work.
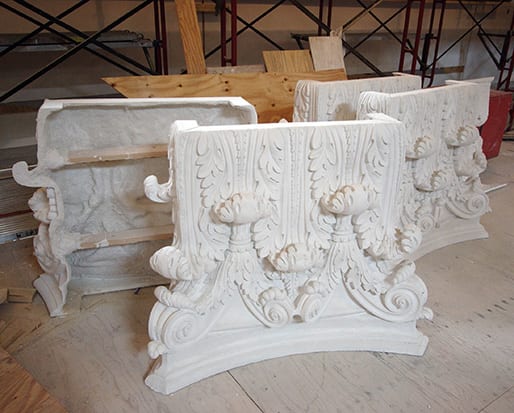
Rubber molds: Rubber molds are able to capture the details and elements of highly decorative plaster ornament such as capitals, medallions, and bas-relief. To create rubber molds, existing plaster elements are coated with a flexible rubber, either polyurethane or silicone. The original plaster element is then removed and the void is used for casting new plaster elements.
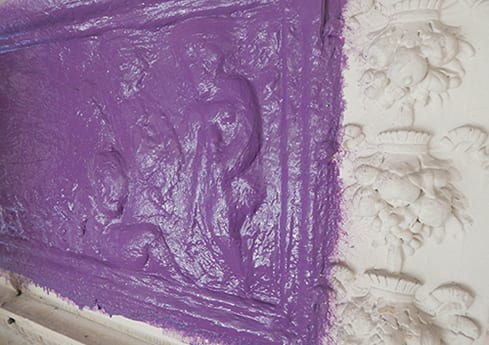

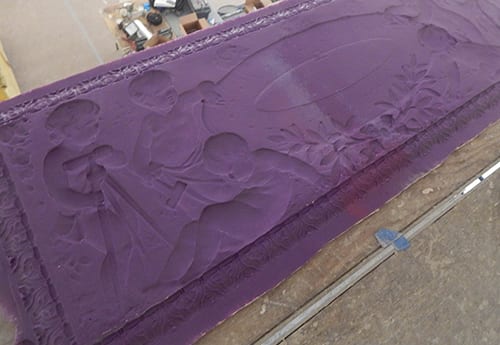

Plaster Casting: once the molds have been created, plaster can be poured into them creating beautiful plaster medallions and ornaments. Gypsum plaster is the most common type of plaster used in this application, because of its durable, dense, and even finish. The result is then sanded smooth and ready for installation. In some cases, the plaster can be reinforced with hemp, burlap, or fiberglass to reinforce the cast element.
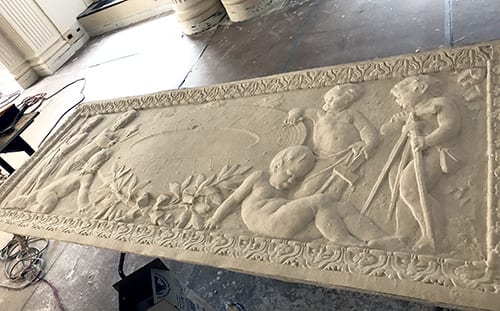

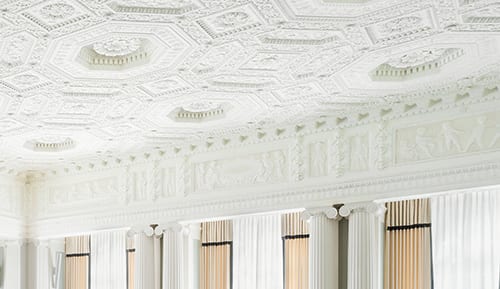
Yale Club of New York City
Templates and Knifes for running profile crown moldings: providing a nice “carved” edge, templates, or knifes, can be used in a variety of applications. Featuring a cutting edge, the template shapes wet plaster by forcing it to contour to the design notched into the blade edge. Restoring ceiling medallions often involves having the circular rings of the medallion formed by running a template fixed in the center over wet plaster repeatedly, until a complete shape is formed, this process is referred to as being “run in place”.
2. Installation:
Installing plaster-cast ornaments and other decorative trimmings involves binging the freestanding plaster pieces to the plaster surface using wet plaster “wads” or mechanically fastening with galvanized tie-wire, screws and glues. Historically, castings were adhered to the surface with plaster wads between the casting and substrate. Additionally, tie-wire could have been used as a secondary attachment point.
Today, Canning & Co will utilize at least two of the three attaching methods and we often use all three. It is important to understand that the plaster molding can be heavy and will fall if not properly fastened with permanent and durable materials and techniques. Plaster failure can be a life safety issue.
Poorly carved plaster molds will ruin the effect instantly, but improperly installed plaster will fail almost immediately. An expert will know the best course of action given your climate, plaster type, and supplemental finishing requirements. Achieving a good hold is imperative.
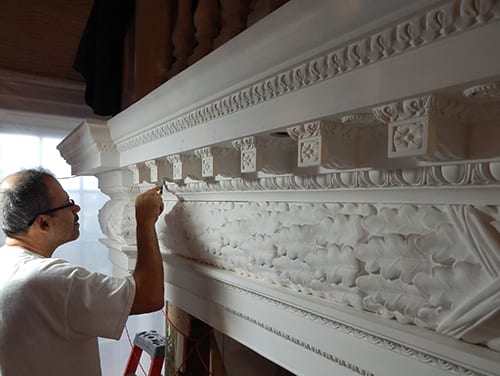

3. Finishing:
Once the plaster has been installed, any plaster residue is removed and all the edges are lightly sanded, ensuring a smooth and seamless finish. Lastly, the surface is sealed and painted. Prior to conducting the plaster work, a historic paint investigation should have been conducted. The findings of this report will help inform craftsmen the historic color scheme and paint composition used to embellish the space. When it comes to appropriate time for painting, one must consider plaster curing and drying, which are two different concerns.
Of course plaster should be dried, to no more than 6%. A quality moisture meter will give proper reading of moisture content. When it comes to curing, one must consider the plasters alkalinity. When wet, plaster can be as high as 12 pH. This pH level will cause paint failure. So it is import to measure the pH or wait typically between 21-28 days, if testing is not possible. Before any finish paint is applied, a high quality “alkaline resisting” primer should be applied to the surface


Restoring ornamental plaster is a time-consuming process, but the end result is always worth it. Rich moldings can transform a space. Bringing back lost or damaged finishes helps to maintain the historical accuracy of a building, ensuring its unique identity is preserved for generations to come. Working with an expert familiar with the historic moldings associated with the building’s period will guarantee the quality and historical accuracy of the plasterwork.

Yale Club of New York City

