The Historic Woodwork Finishes Restoration Process

Architectural woodwork and its finish has been a stunning decorative element for thousands of years. It is beautiful, useful, and worthy of being restored to maintain its integrity. The historic woodwork restoration process is needed for wood that has begun to deteriorate, wear, or lose its striking impression. It involves conservation cleaning, repair, and reversible coatings that restore the original color and detail without permanent alteration.
Accomplishing such a task is not easy, and it is therefore important to consult an experienced restoration team and to understand the materials and steps included in the process.
Materials
The basic materials employed in wood restoration include various tools and products such as primers, dyes, and wood finishes.
Tools
Brushes, sand paper, protective covers, ladders, scaffolding, etc.
Wood Primer
A product applied to the prepared wood which serves as a base coat for the finish.
Aniline Dyes and Stains
Products used to alter the color of the wood in order to match a specific color.
Wood Finish
A protective gloss used as a top coat. Depending on the desired outcome, different types of finishes are used which vary in composition and outcome—oils (tung oil), wax (beeswax, carnauba wax, mineral wax), polyurethane, varnish.
Transparent and Opaque Finishes
All wood finishes can be categorized into transparent or opaque. Transparent finishes are more or less clear which allows the viewer to see the wood underneath. Transparent finishes are used with wood of a particularly beautiful grain and color such as oak or mahogany. Opaque finishes are a specific type of enamel paint which is oil-based, allowing the paint to expand and contract with the wood in. These paints are easy to work with and very aesthetically pleasing, paired with less pleasing woods like poplar.
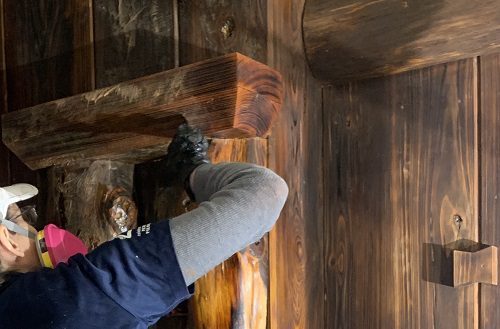
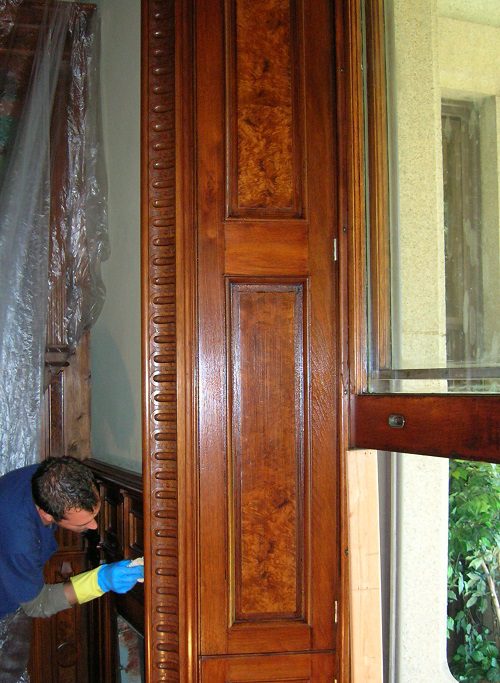
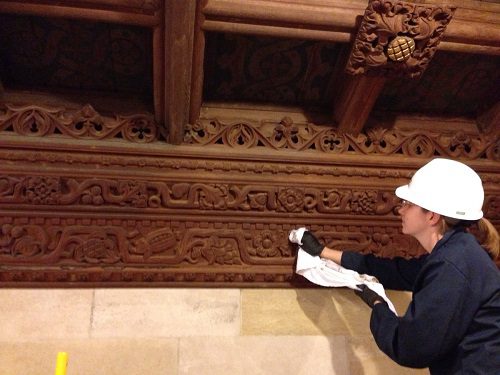
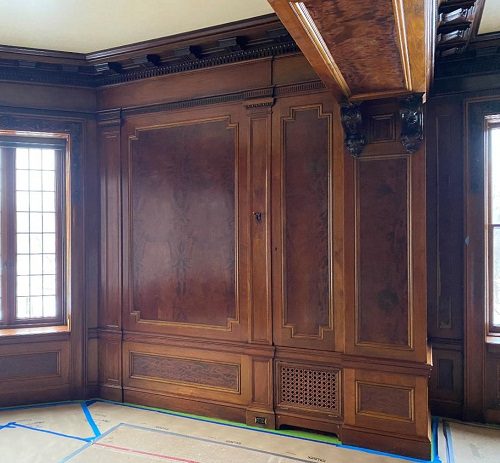
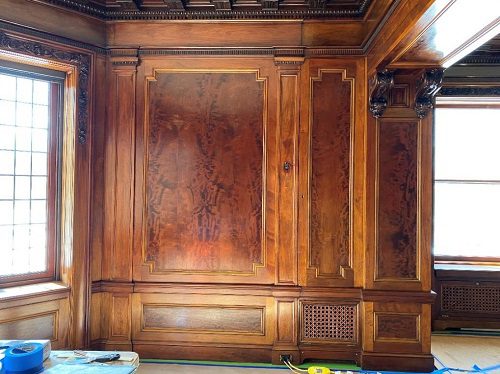
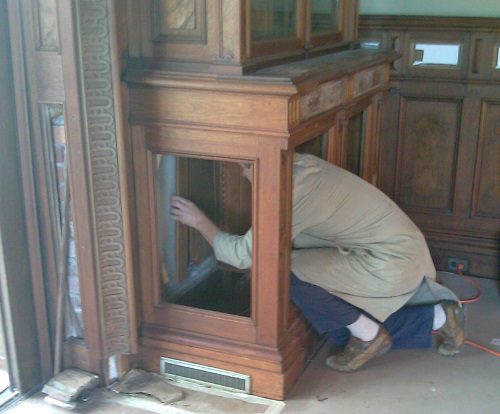
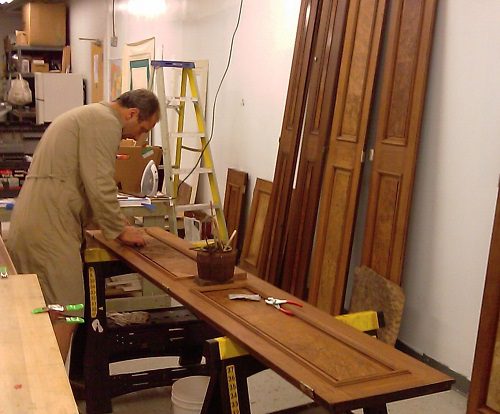
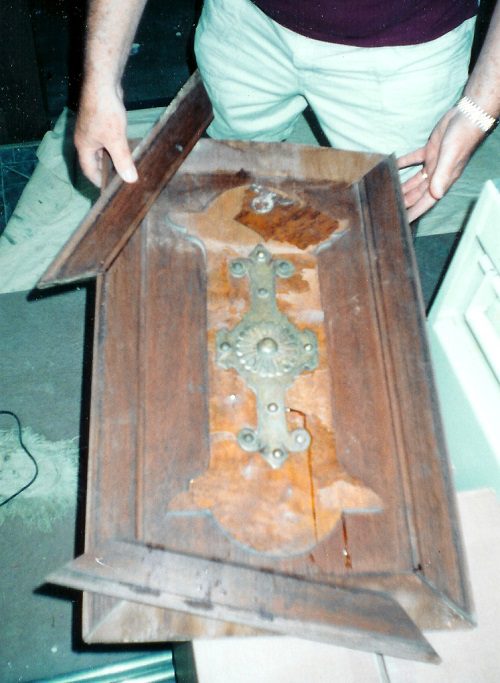
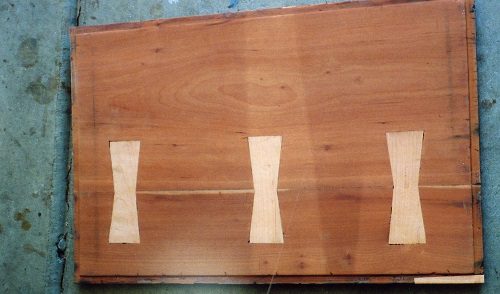
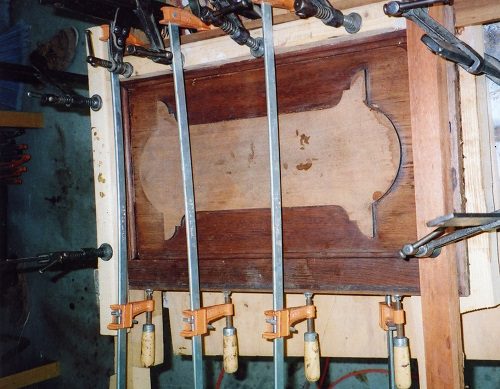
Examples of wood restoration process.
Process
Although circumstances admit variation depending on the project, in general the restoration of historic architectural woodwork may be completed in five steps.
1) Investigate Woodwork
Once architectural woodwork is found to be in need of attention, a historic woodwork analysis must be done on site by a professional restoration contractor. This will include both archival research to determine the original materials used as well as an investigation of its current condition. Properties of the current wood to be determined include
- Species of wood (mahogany, oak… etc.)
- Age of wood
- Current and original finish (this may require solvent tests, FTIR testing, UV light testing) to determine finish type.
- Types of joinery, such as mortise-and-tenon or the use of rabbit skin glue as an adhesive, etc.
- The use of veneers (thin sheets of wood attached to particle board) versus solid woods and the type of glue used to adhere veneer to substrate.
- Identifying boiserie (cast composition made with plaster and linseed oil) or ormolu (decorative plaster castings). In some instances these ornaments could be cast metals, such as bronze.
- Condition of wood including any apparent damage (warping, water damage, nicks, scratches, failing finishes etc.)
2) Write Work Specifications
A work specification is a detailed document describing the scope, treatment method, materials, and any concerns within a given project. A woodwork specification must be written according to information obtained in the wood investigation. It should contain a description of all wood conditions as well as each phase of action to be performed for their restoration. Although these specifications are often written by architects, restoration artists with the required expertise can be a huge help with this step.
3) Perform Mock-Up
A mock-up is a test run. It is performed on part of the wood on site showing an example of what the end product will look like and the methods and materials used in the process. The mock-up must be done only after obtaining the Architect’s/Owner’s written approval and must be performed in an area specified by the Architect/Owner. Once the finished mock-up has been approved, it will serve as the reference for the rest of the project.
4) Prepare Wood Surfaces
Cover all surfaces with cloth material to protect against anything in the space which could cause damage during the process-dust, product excess, precipitation. This includes those surfaces not currently being worked on, those in progress, and those completed.
5) Restore Architectural Woodwork
Once the preliminary work is done and the area is prepped and ready, the three-step restoration process can commence.
1) Clean, Strip, and Sand
The wood surface is first cleaned of any dirt and stripped of its old wood finish. This can be done mechanically, using sanding and scraping tools, or chemically with a mild solution in order to prevent damaging the wood. Often a combination of these techniques will yield the best results. The wood is then sanded to facilitate an even, smooth surface to receive the primer. Any damaged wood should also be removed in this step. It is critical that the sanding be done properly and the tools be used well. For example, one must sand with the grain and not across it as the latter will permanently scratch the surface. It is also important to keep in mind how thin veneers are to prevent excessive sanding/scraping.
2) Prime
Next, wood primer is applied to help preserve the wood and facilitate more adhesion for the wood finish. This is a certain resin that provides durability by sinking deep into the wood and filling any imperfections. If needed, stain is carefully chosen and used to match the original color of the wood.
3) Finish
Finally, wood finish is applied, providing protection and a smooth shine to the appearance of the wood. Prior to any coating applications, one should wipe the surface thoroughly with a tack cloth two remove micro dust. Any dust contamination will visually affect the finished product
(Left) Before wood restoration treatment. (Right) After wood restoration treatment.
Replication
During the restoration process, it is sometimes necessary to replicate certain sections of the wood such as those which were removed due to damage. In this case, it is often impossible to obtain the same species of wood as the original. As a result, Canning Co. artisans replicate the grain and color with paint and glazes to achieve a perfect match to the original material.
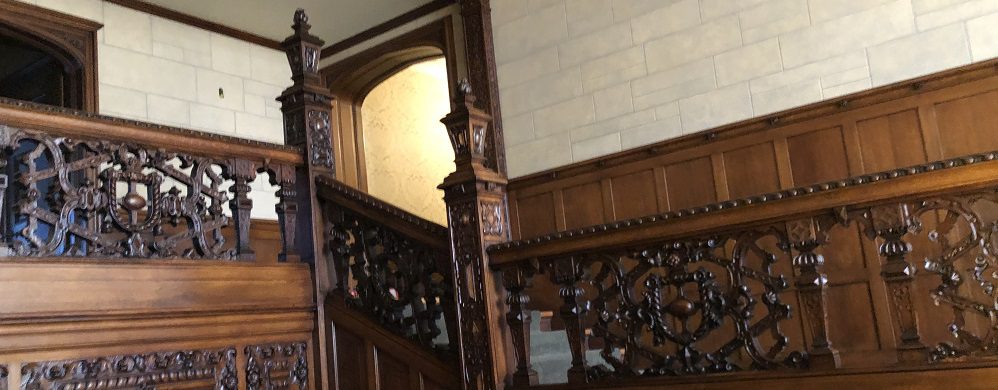
Canning has had the privilege of performing historic wood restoration on many historic buildings including the Mahogany Suite at the Mark Twain House and the Sterling Memorial Library at Yale University.

